When you get used to work with SAP Gui, you navigate between the programs using some transactions codes. With SAP S/4 HANA, if you are under Fiori launchpad, a lot of transactions codes are no more available when you call them in the search bar.
You can adapt the fiori catalog with your usual transactions codes, standard or custom transactions codes. For that you have to create your own fiori tiles.
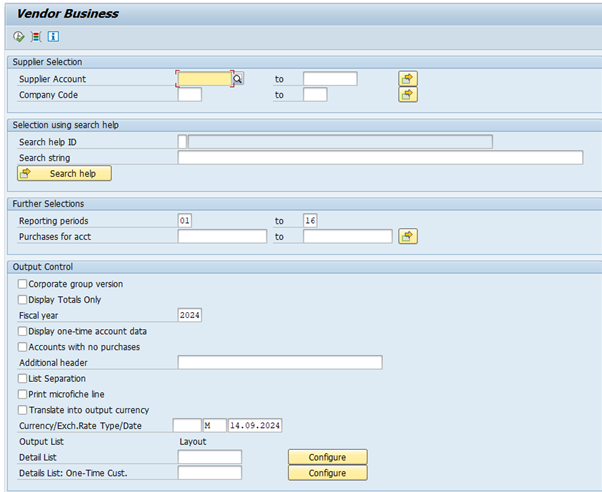
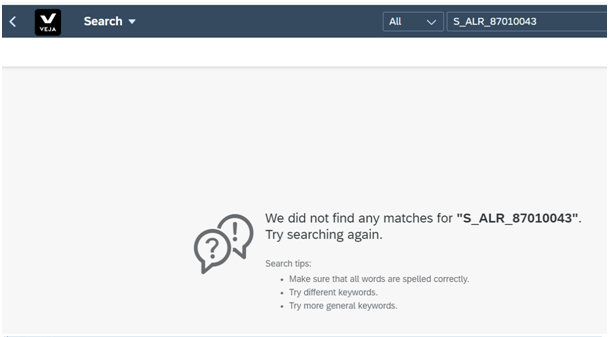
Let’s take the standard tcode S_ALR_87010043.
When this transaction is not linked to a Fiori tile, and you try to search it in Fiori, you will have this screen:
Now let’s see how to link this transaction to a tile.
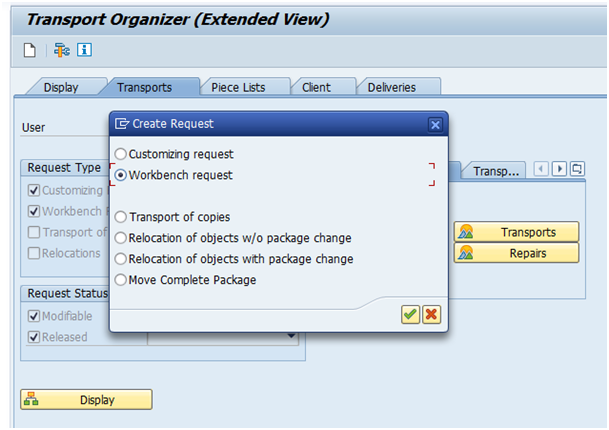
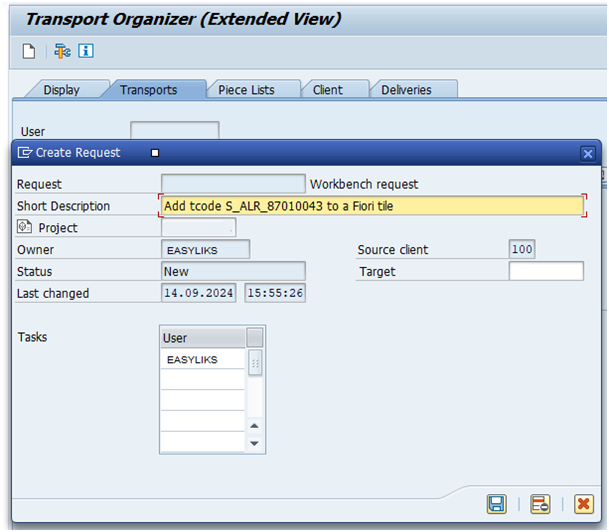
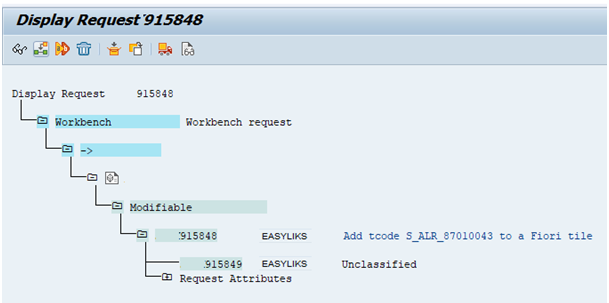
Step 1: create a transport request
Go to tcode SE01, and create a workbench request.
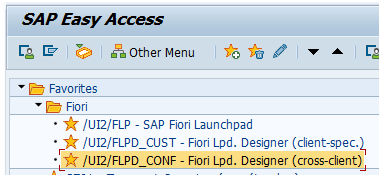
Step 2: run Fiori launchpad designer.
go to tcode /UI2/FLPD_CONF.
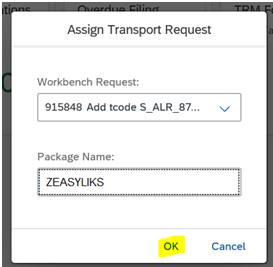
And in the right corner of the window, select “Settings” to have the transport request popup.
Call your transport request and the package name and push the OK button.
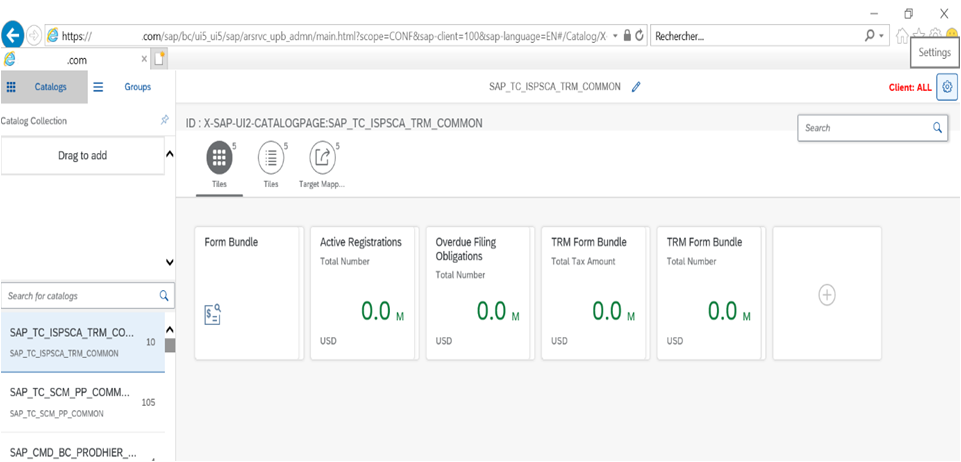
Step 3: manage the catalog.
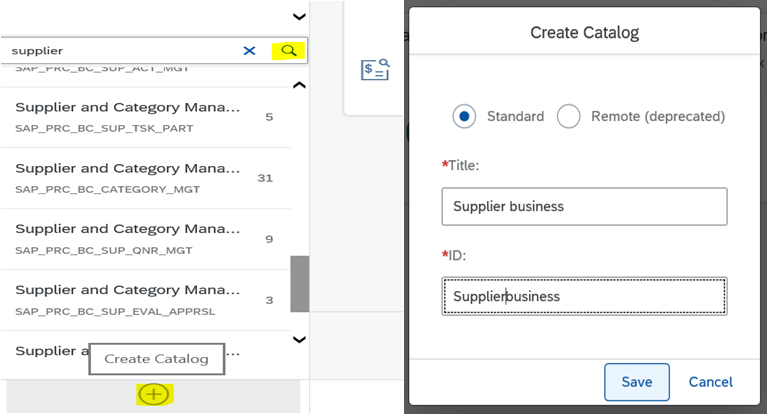
Call an existing catalog or create a new one.
For the exercise we choose to create a new catalog. Add a title for your catalog and an ID (no space allowed for the ID naming). And SAVE.
Step 4: create the target mapping.
Click the target mapping button and then, at the bottom, click the “Create target mapping” button.

You must fill the fields highlighted in yellow.
Semantic object: it is the id of your object.
Action: choose “Manage”.
Application type: choose “Transaction”.
Title: Copy the title of the transaction you have in SAP Gui.
Transaction: paste here the Transaction code for the tile.
Information: Copy few explanation from the standard tcode.
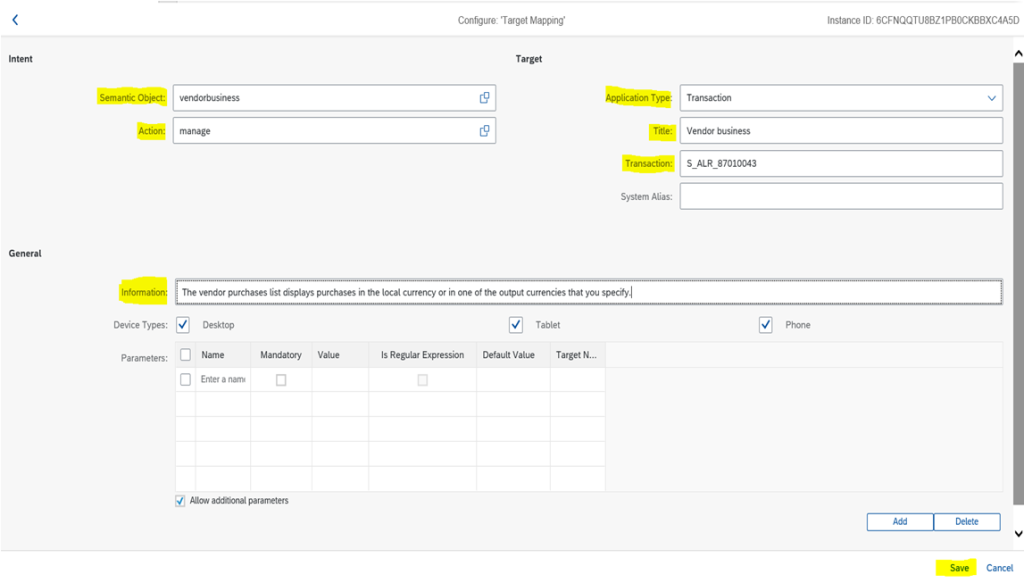
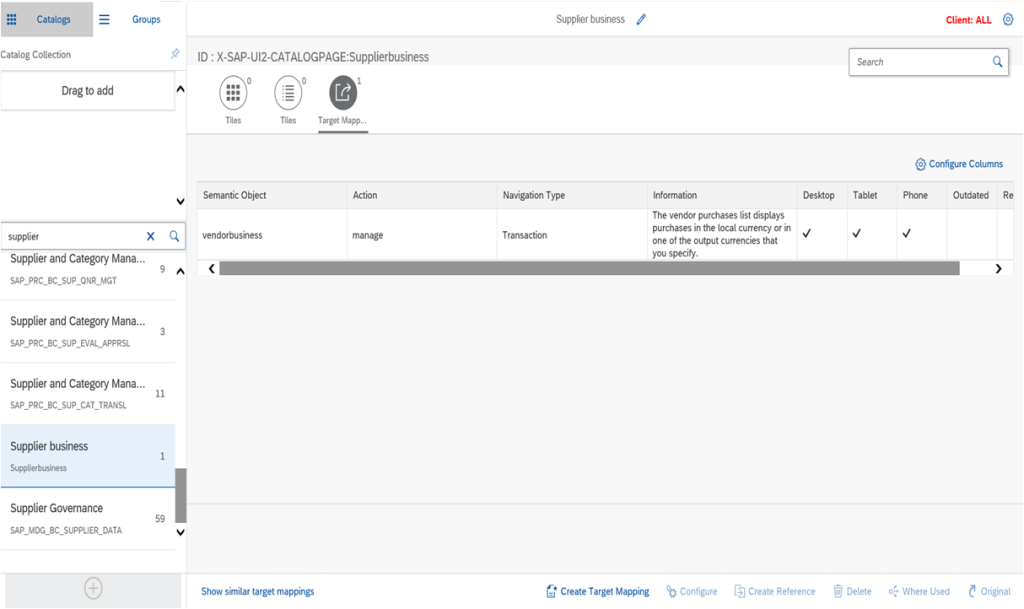
Then press the SAVE button. Now your target mapping, which is the standard transaction code S_ALR_87010043, is defined correctly.
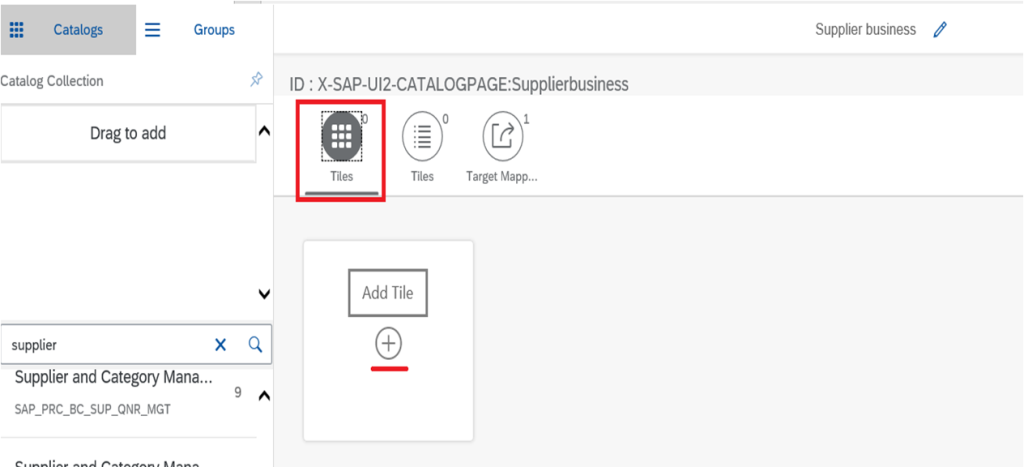
Step 5: Go to the tile creation.
Click on the “Tiles” and then click on “Add tile”.
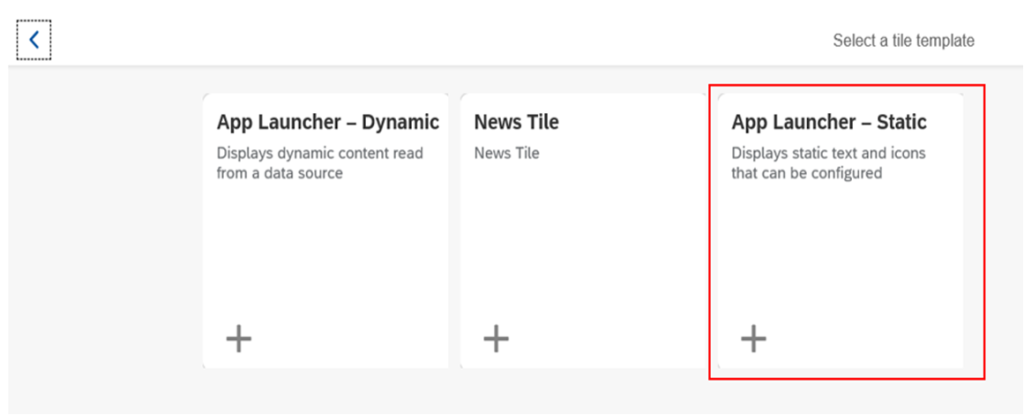
As we want to link a transaction to a tile, we select the “App launcher – static” tile.
Fill the fields as described here and save it.
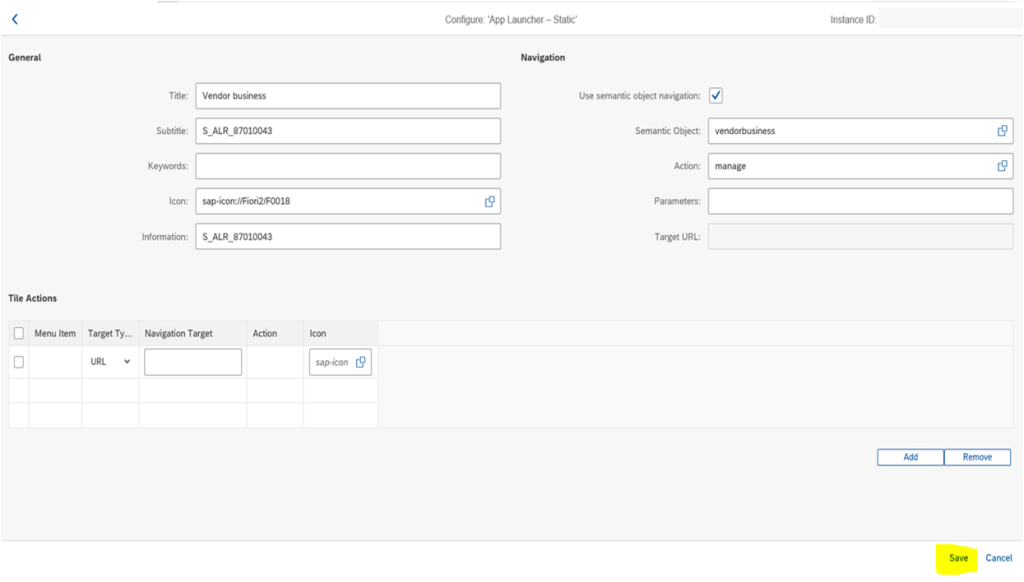
Title: paste the standard title of the transaction.
Subtitle: paste the transaction code.
Icon: choose an icon for your tile, representing a report if the transaction is a report, etc…
Use semantic object navigation: the checkbox must be selected.
Semantic object: paste the semantic object name defined at step 4.
Action: choose “Manage”.
Information: paste the transaction code to be used as a search term.
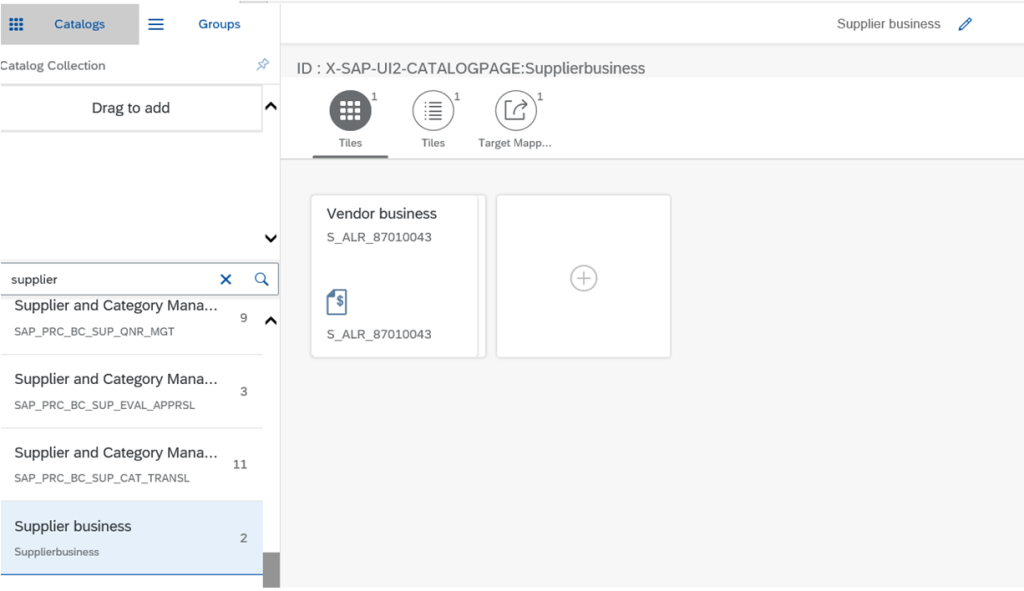
The tile is now created correctly.
Step 6: Add the tile to a group.
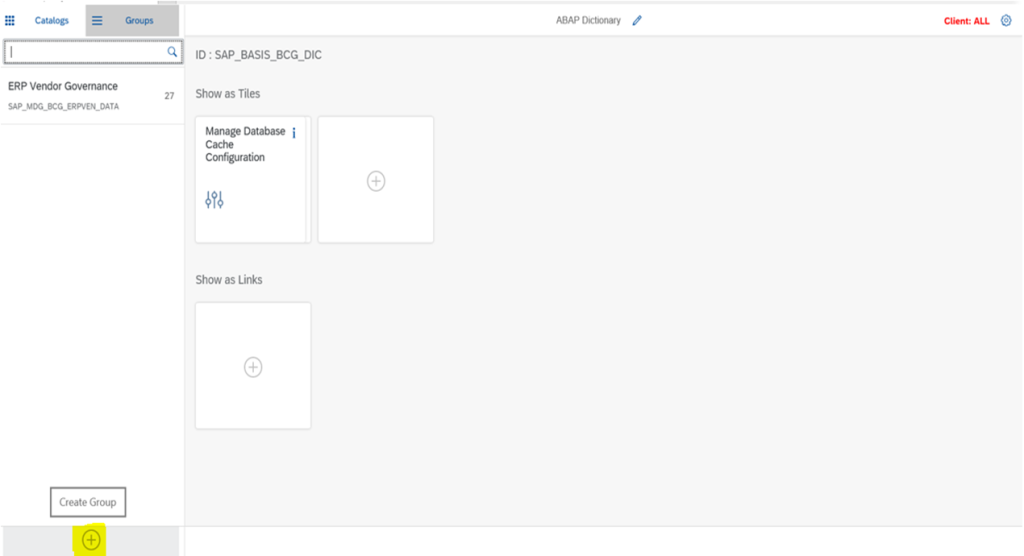
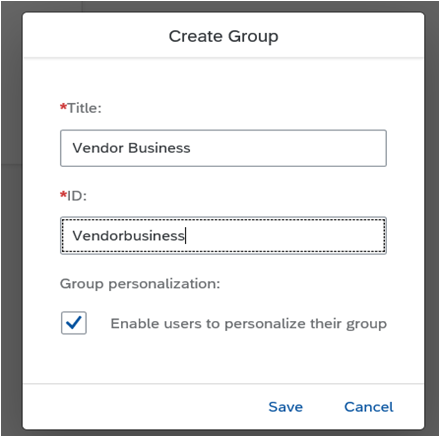
You can select an existing group or decide to create a new one. For the exercise, we are creating a new one, clicking on “Create group” button, on the left bottom side of the page.
Keep the checkbox “Enable users to personalize their group” and save it.
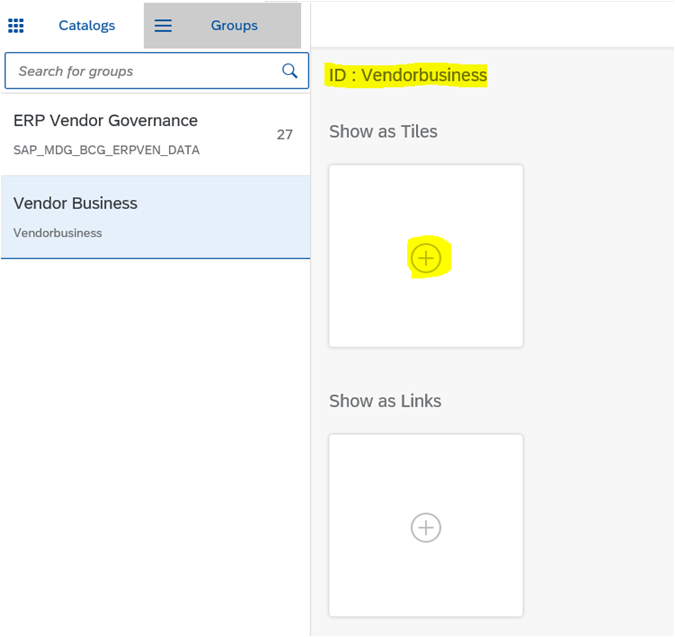
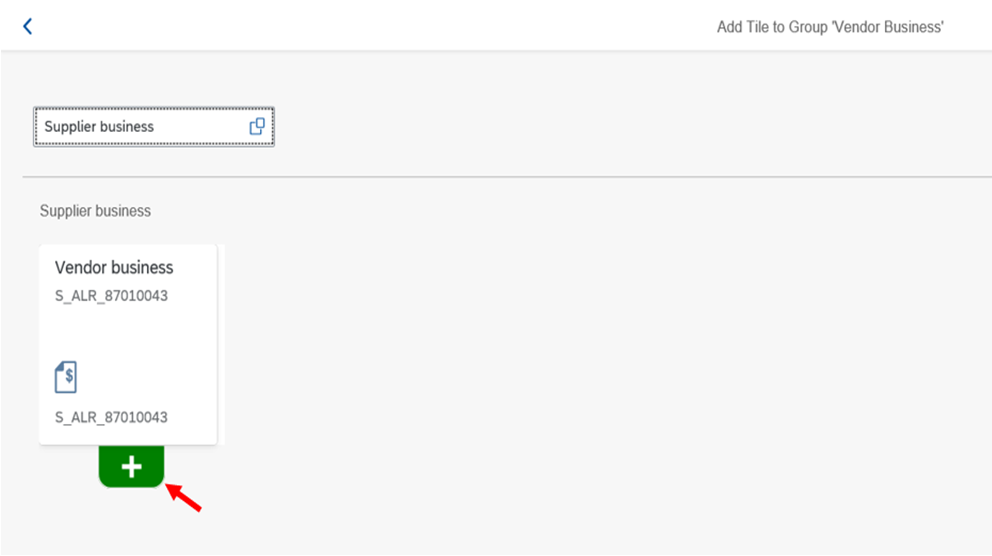
Now you can see you are viewing your new group with the ID displayed, and you can call your tile to add it inside your catalog (defined at step 3).
Use the search help to retrieve your catalog and select it.
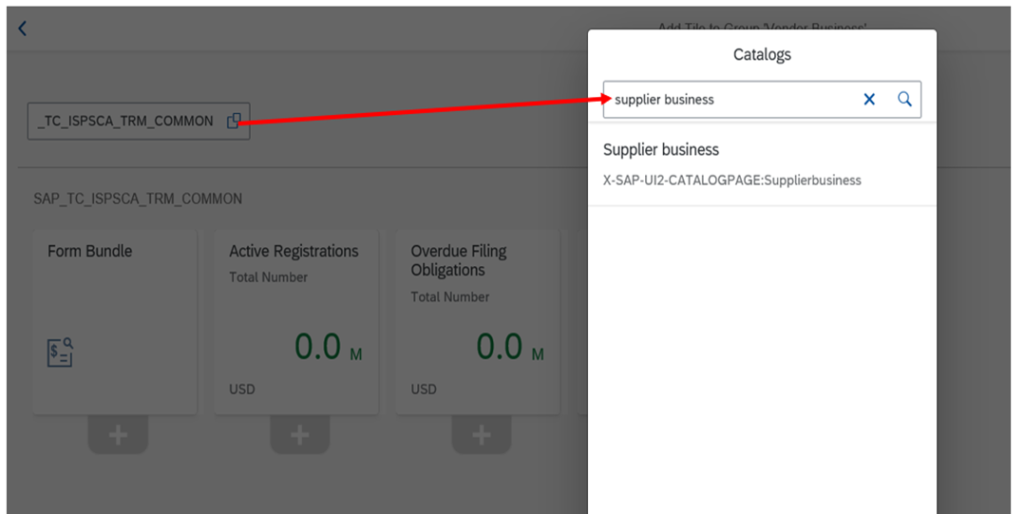
Now push the ADD button.
The success popup will be displayed and the ADD button turns to a CHECKED icon.
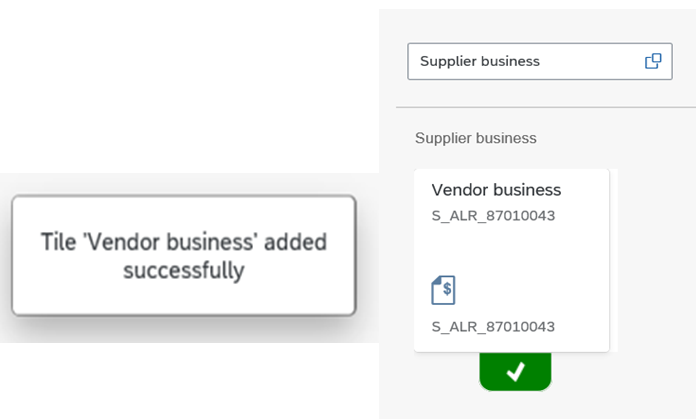
Go back to previous screen with your browser navigation.
Now your transaction is linked to a tile and to a group.
Step 7: manage the authorizations in tcode PFCG.
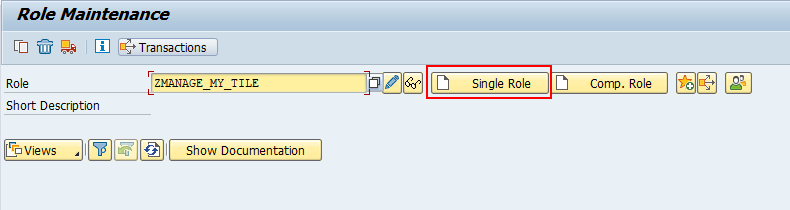
Name the role and push the “Create single role” button. Save it.
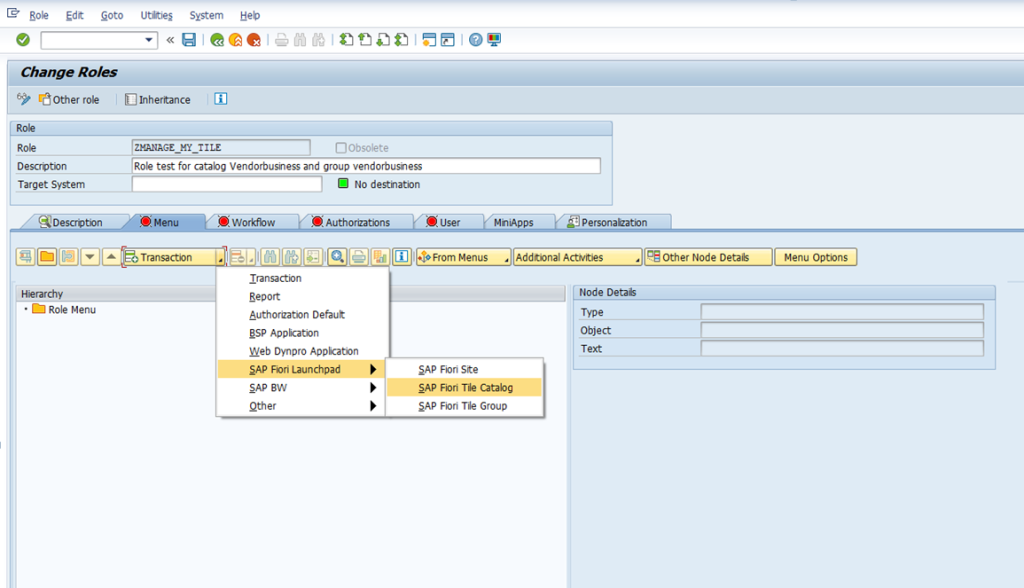
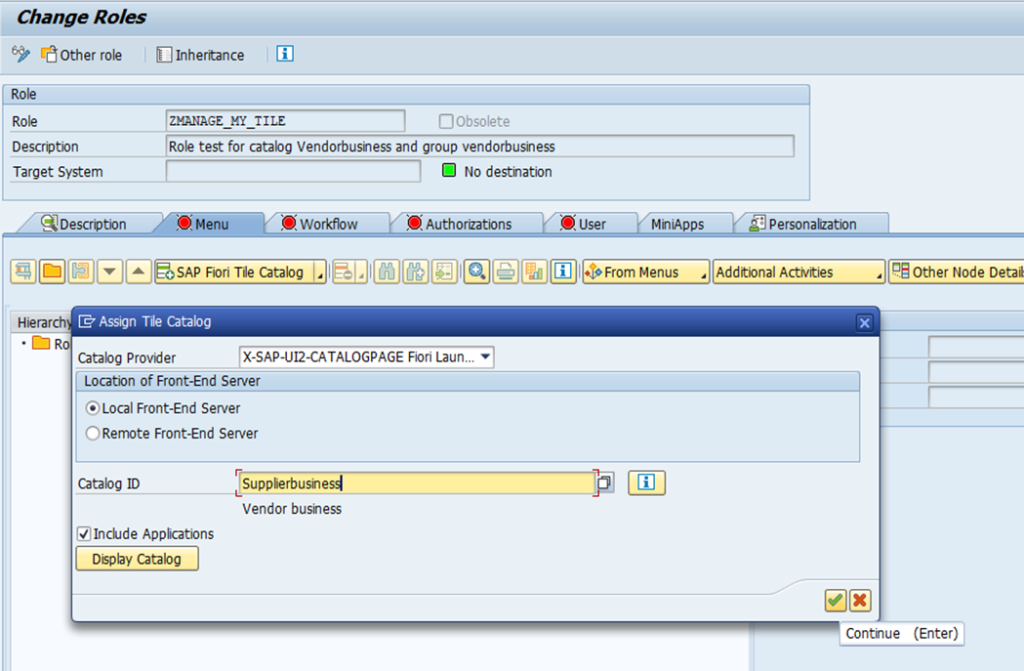
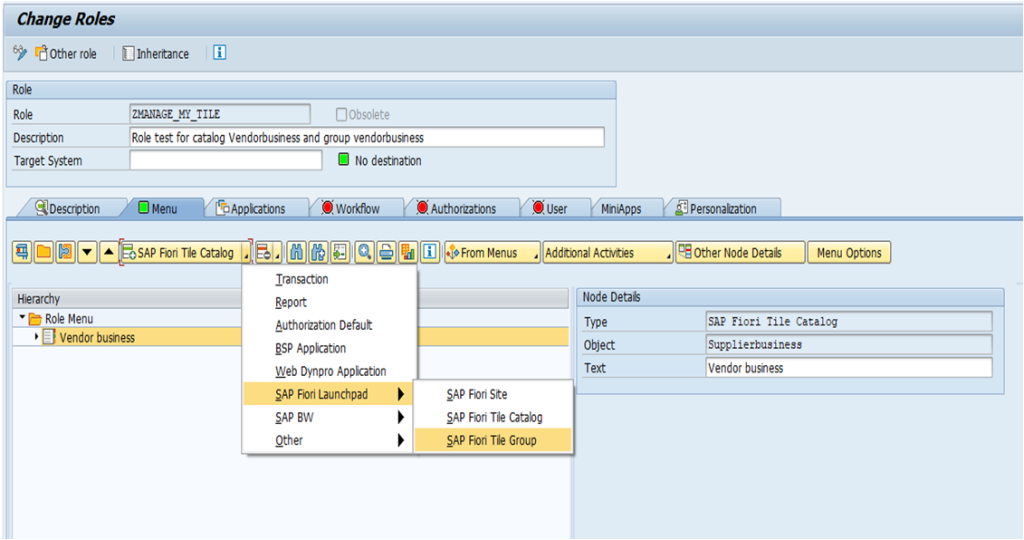
Now select the tab “Menu”, and on the right side of the button “Transaction” push the little black triangle to display the sub-menu.
Select the “SAP Fiori Tile catalog” sub-menu.
Select your catalog and validate.
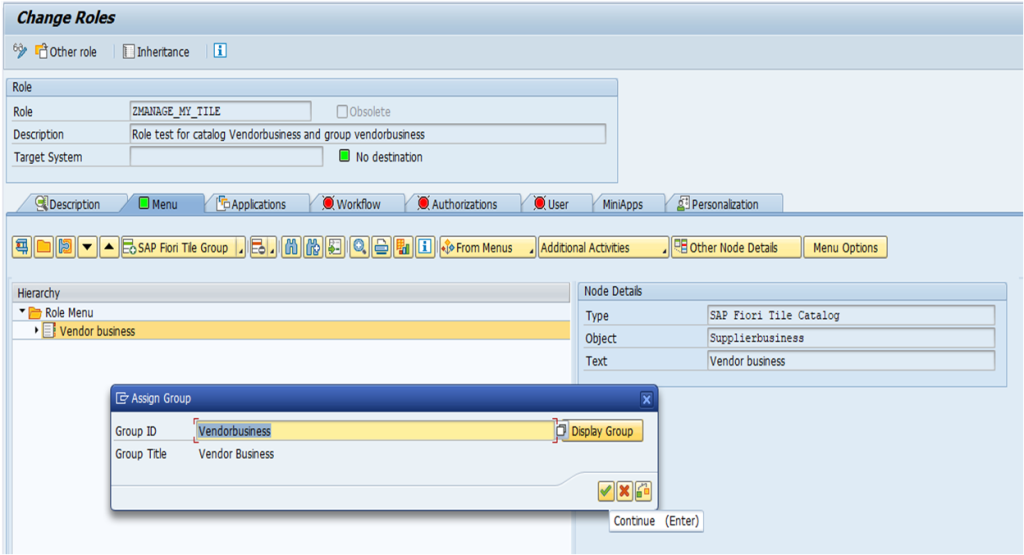
Do the same action for the tile group.
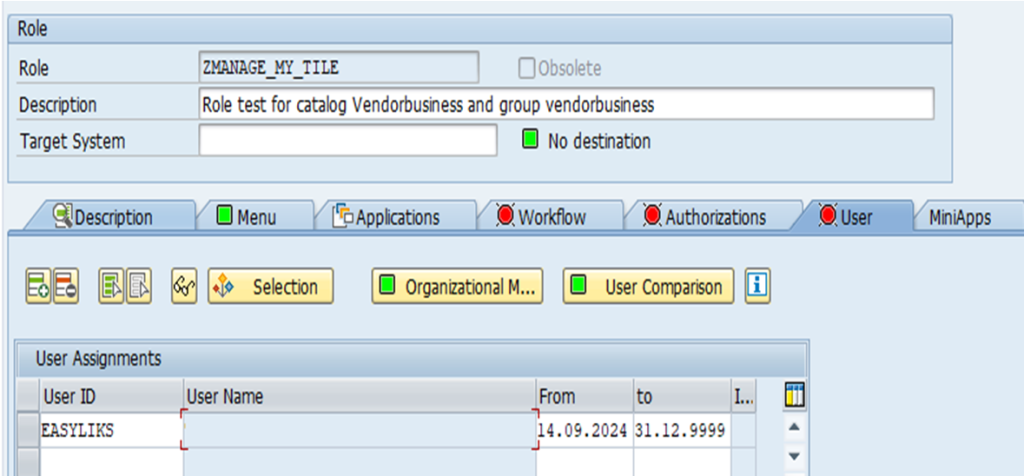
Now you can add this role to your username. Select the tab “User” and enter your username and save.
Step 8: Try your new tile.
Run the Fiori launchpad and select your catalog to see the new tile created.
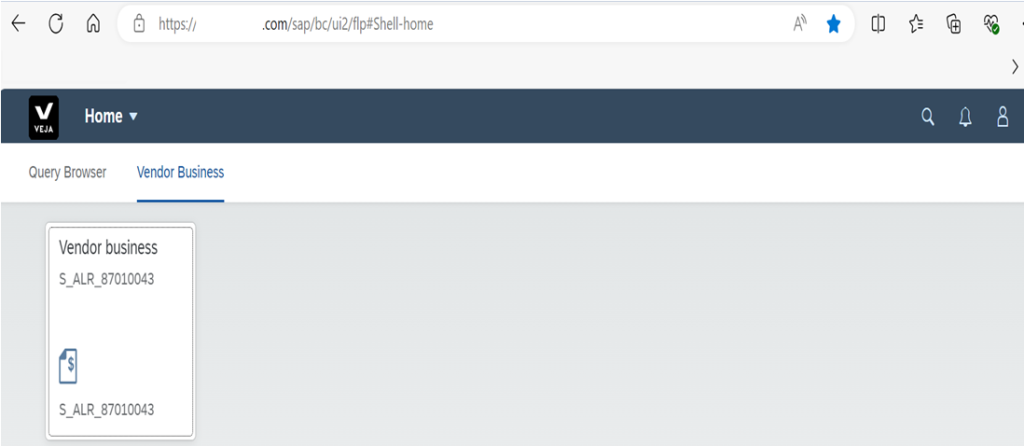
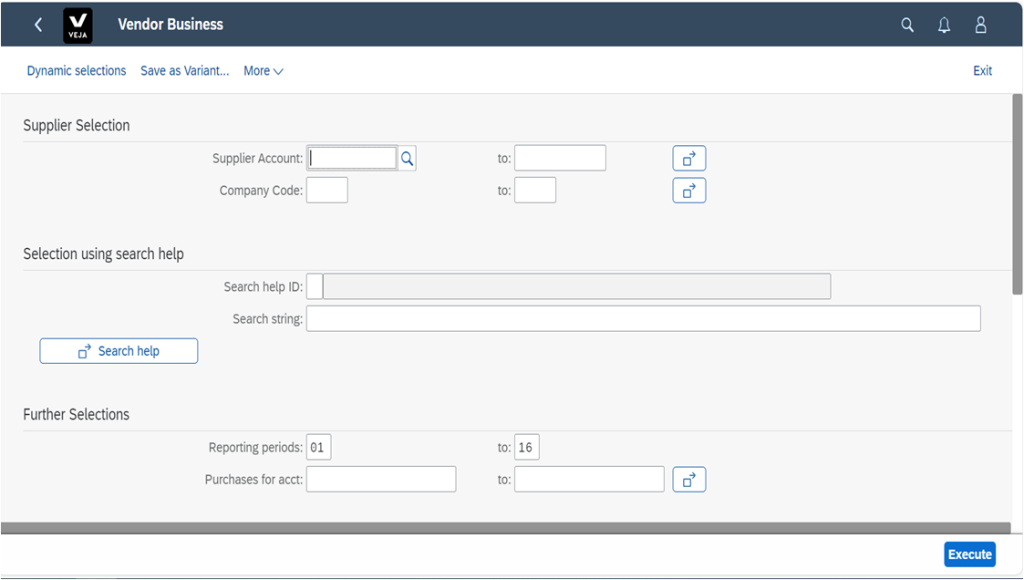
When you click on the tile, it calls the standard tcode as in SAP Gui.
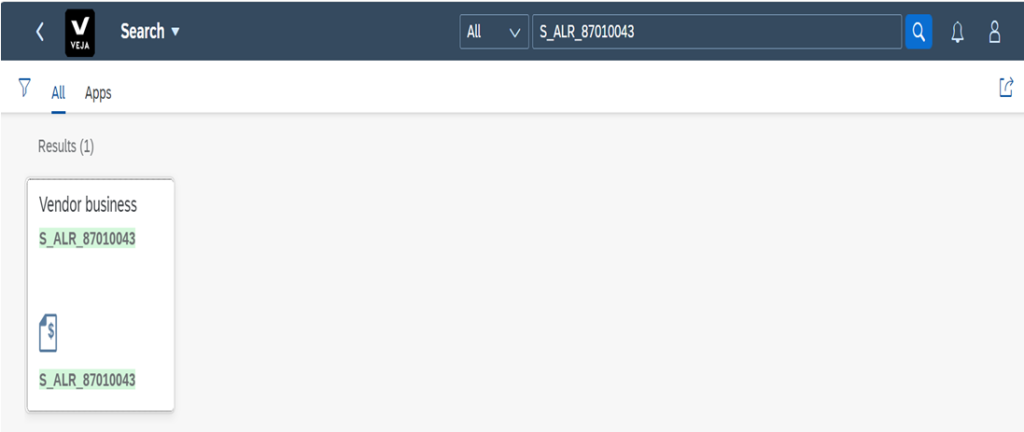
If you want to use the search option, you can key the tcode and it finds the corresponding tile.
Conclusion: if you want to help your users to navigate easily in SAP Fiori, you can manage your catalogs by business processes, adding the tiles corresponding to the transactions codes they must follow. According to the authorizations, the users will be able to run only the transactions allowed and will not get lost with the Apps finder.